From printed parts to a candle
A step-by-step guide to the glove mold in a rigid shell. The 3D shows your real parts, from the same STL files you printed. Scroll, or press “Play” and the steps run by themselves like a video.
3D is not available on this device; the steps and numbers below are complete.
Steps
-
Step 1 of 17
Lay out the parts and fasteners
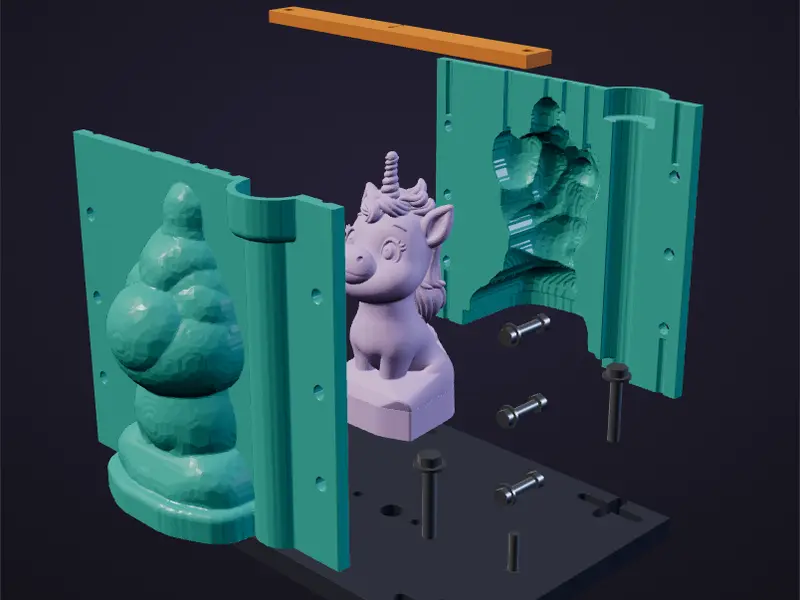
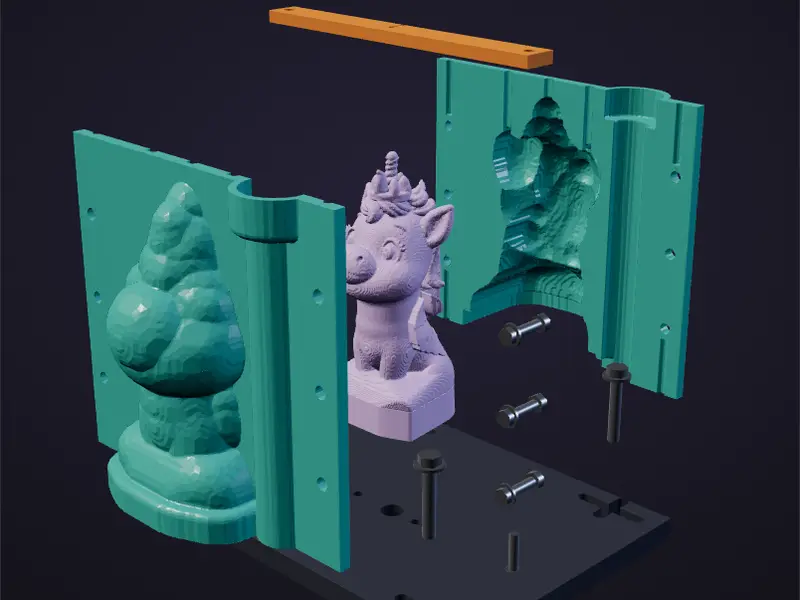
- Master (PLA), two shell halves (PETG), plate, wick bar.
- Put the shell halves together on the parting faces: no gap. Sand off any blobs.
- Clean the holes with a Ø4.3 drill (Ø3.3 in the master is for self-tapping).
Done when: all parts test-fitted, the fasteners from “You need” on the bench
-
Step 2 of 17
Prepare the master
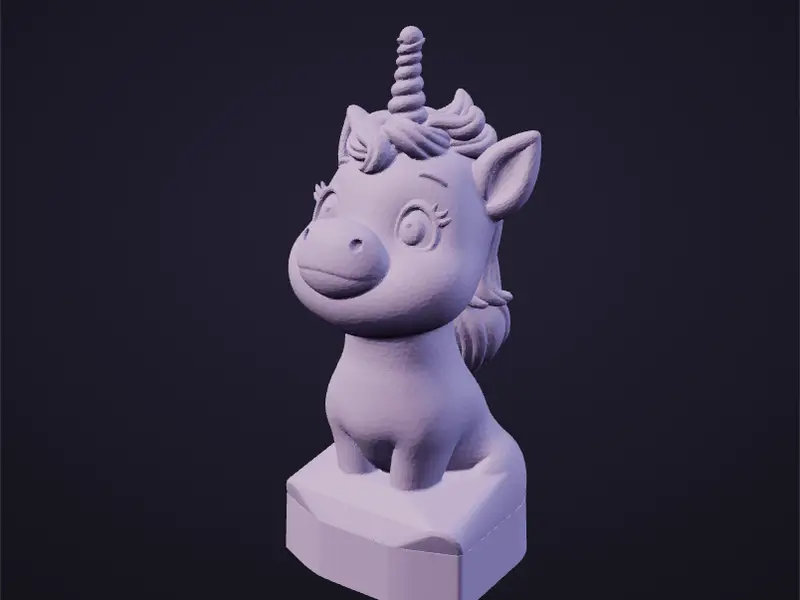
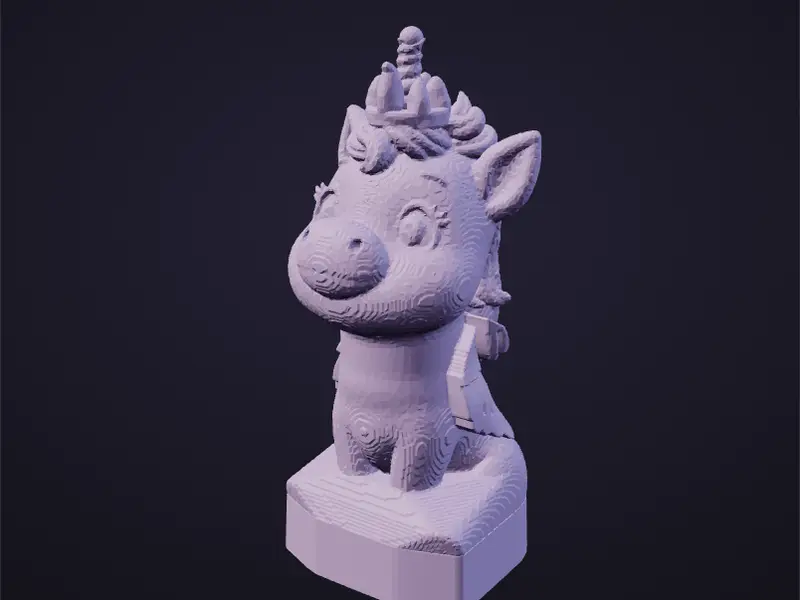
- Remove supports, sand 180 → 320.
- Filler primer 2–3 thin coats, sand 600 → 1000, gloss varnish 2 coats. Keep lashes and curls open.
- Test: ~10 g of silicone on an offcut with the same varnish, 24 h.
Caution. Tacky test — do not pour on the master: change the varnish or the silicone.
Done when: the test has cured and is not tacky
-
Step 3 of 17
Master onto the plate
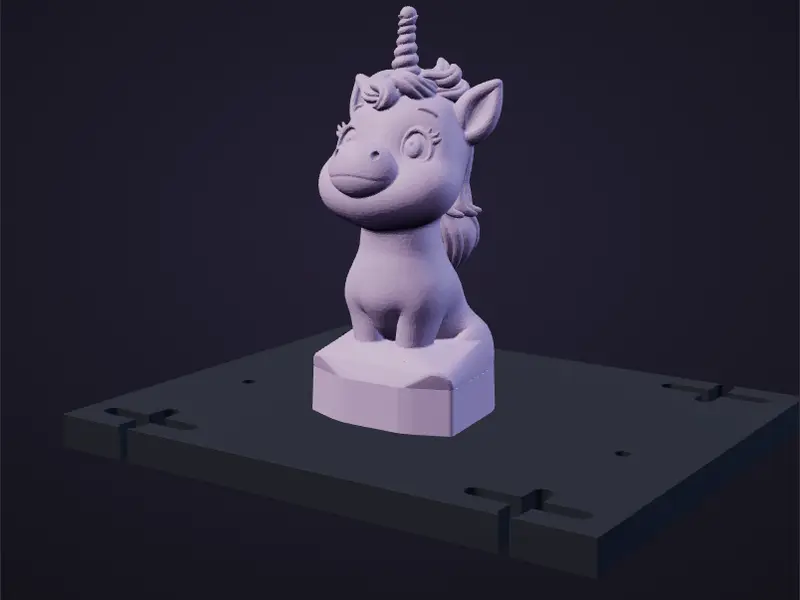
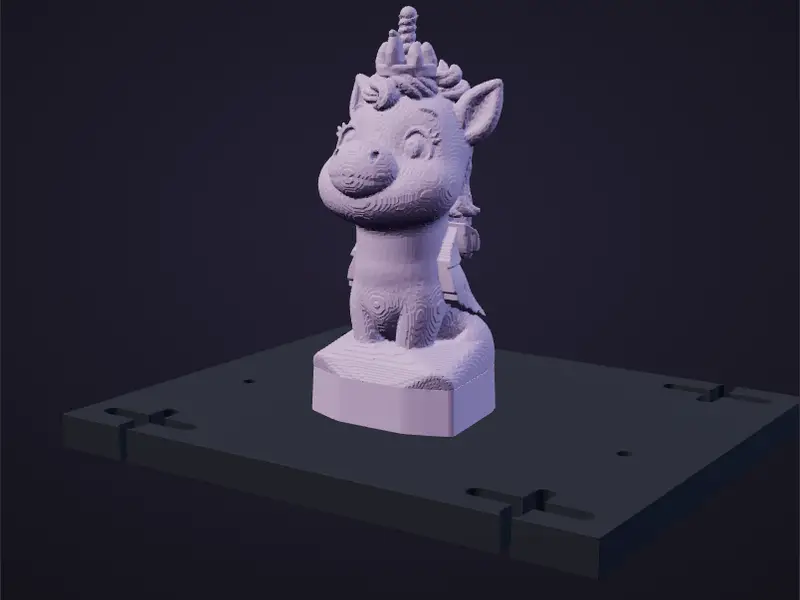
- Three M4×20 screws from below through the plate into the master. Wide washer on the wick axis.
- Tape the Ø10 hole from below.
- A thin bead of sulfur-free clay under the master edge.
Done when: the master does not wobble, no gap at the edge
-
Step 4 of 17
First coat by brush
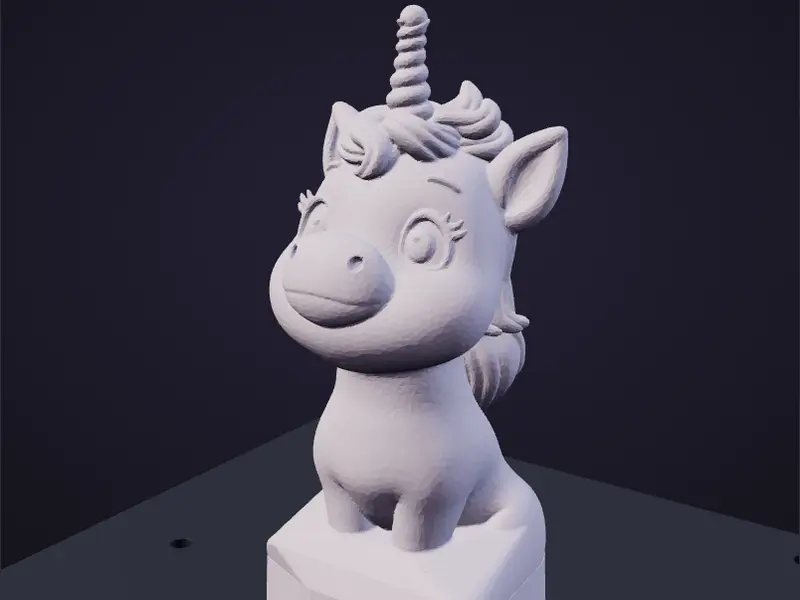
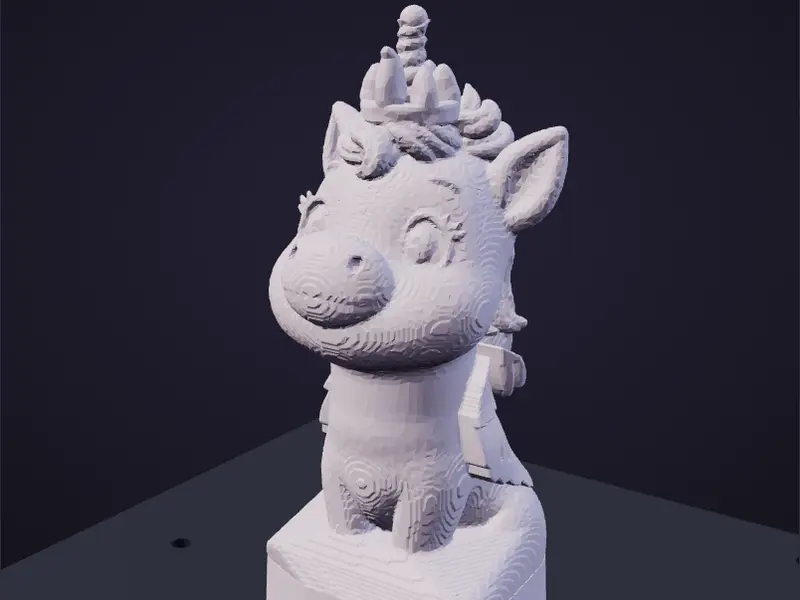
- Mix 10–15 g of silicone with catalyst.
- Stipple a thin coat over the whole master, especially under the chin.
- Let it thicken but not cure (15–30 min).
With crown and wings The crown (between the points and at the horn) and wing edges — separately and twice: the crown has no vent of its own.
Done when: the whole master is matte with silicone, no bubbles in the relief
-
Step 5 of 17
Close the shell
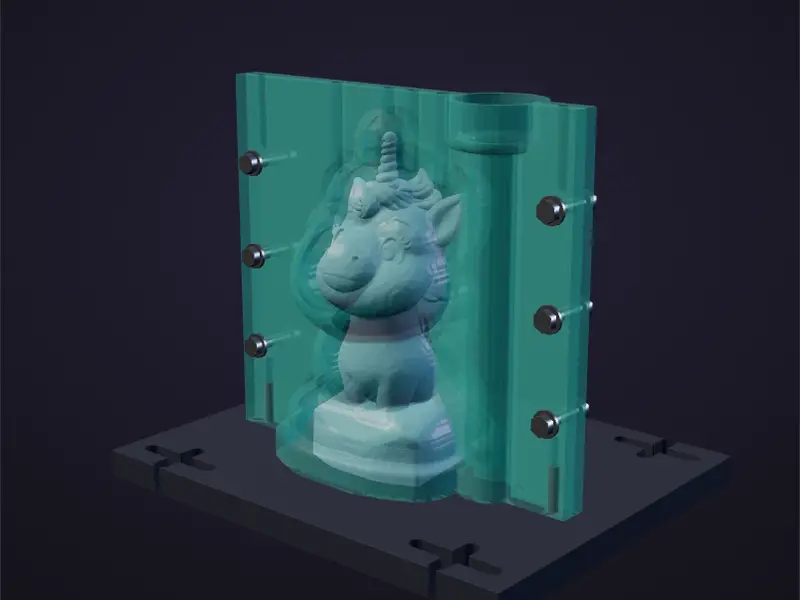
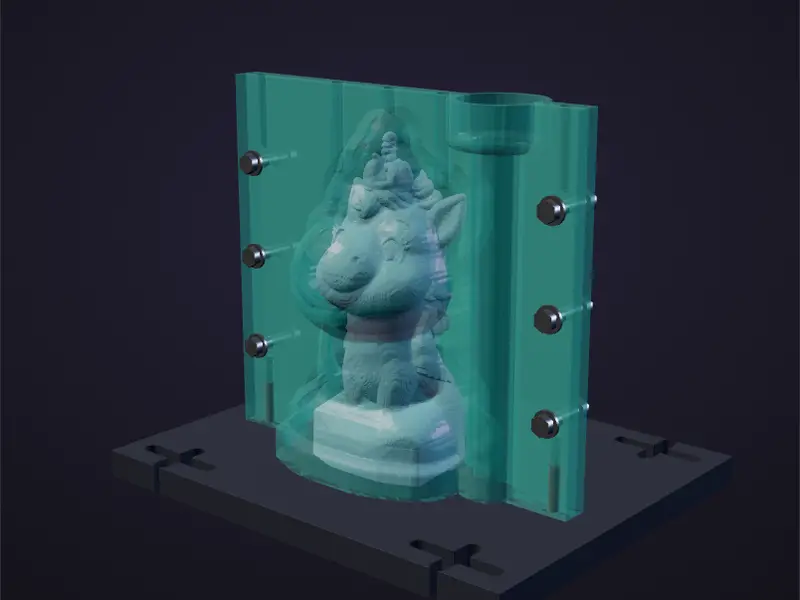
- The thinnest film of petroleum jelly inside the shell.
- Halves around the master on 6 M4×20 bolts with washers and nuts. Then 2 M4×25 screws from below through the plate into the shell end.
- Seal the shell-to-plate joint outside with clay. Shine a light from below: no light should pass. Mark the screw heads with paint.
Done when: the shell sits on the plate with no gaps, paint marks in place
-
Step 6 of 17
Onto the vibration table
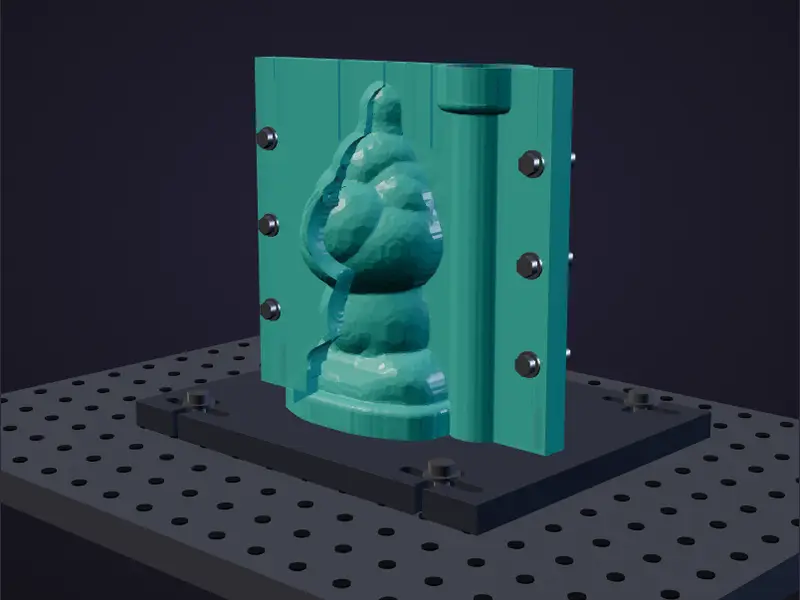
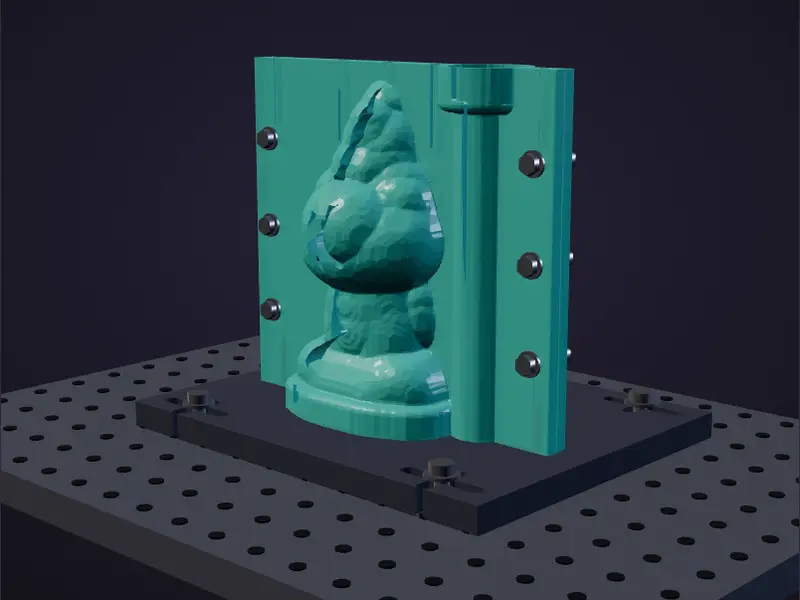
- Plate: 4 M5 bolts through the cross slots into the table holes, nuts below. Or 2–4 clamps on the plate edges.
- Level it, room at 20–25 °C.
- Run the table empty for a minute: nothing rattles, marks have not moved.
Done when: the table runs without rattling, the plate does not creep
-
Step 7 of 17
Mix and pour the silicone
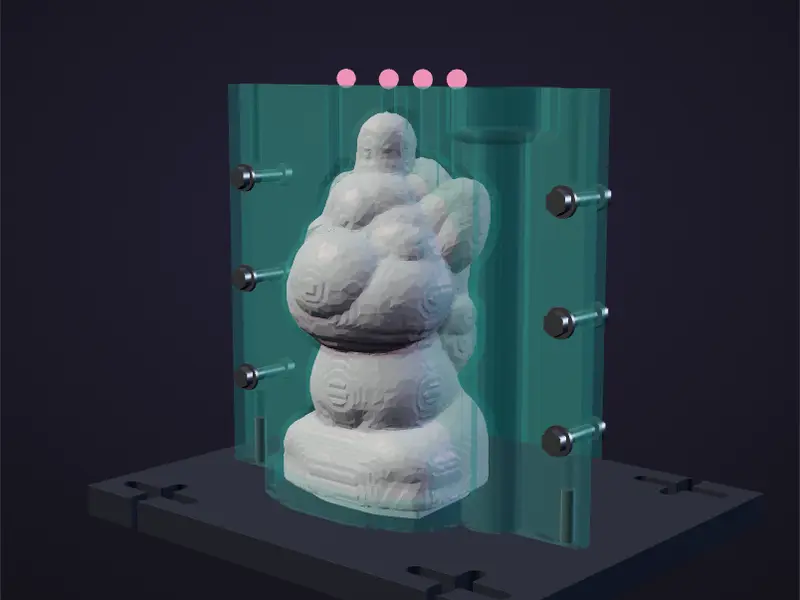
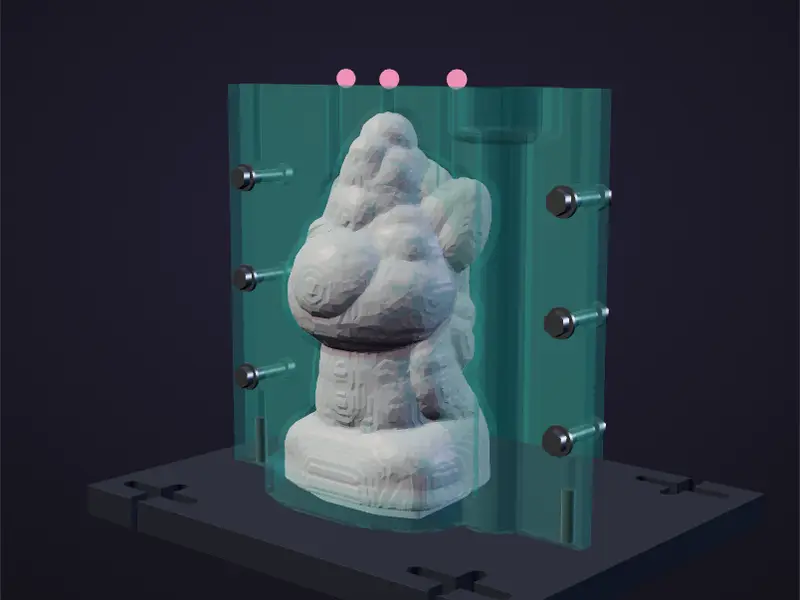
- Weigh 196 g of silicone, add 2 % catalyst by weight, mix, pour into a second cup and mix again.
- Pour a thin stream into the riser funnel, vibration at low amplitude. Keep pouring without breaks.
- Watch the vents: horn and both ears. Silicone shows in all of them — 5 more minutes of vibration, stop.
With crown and wings Three vents, not four: the crown covered the forelock, air leaves along the horn.
Caution. Not at a vent by half the pot life — do not top up from above: let it cure and pour a new one with thinner silicone.
Done when: silicone in every vent
-
Step 8 of 17
Let it cure
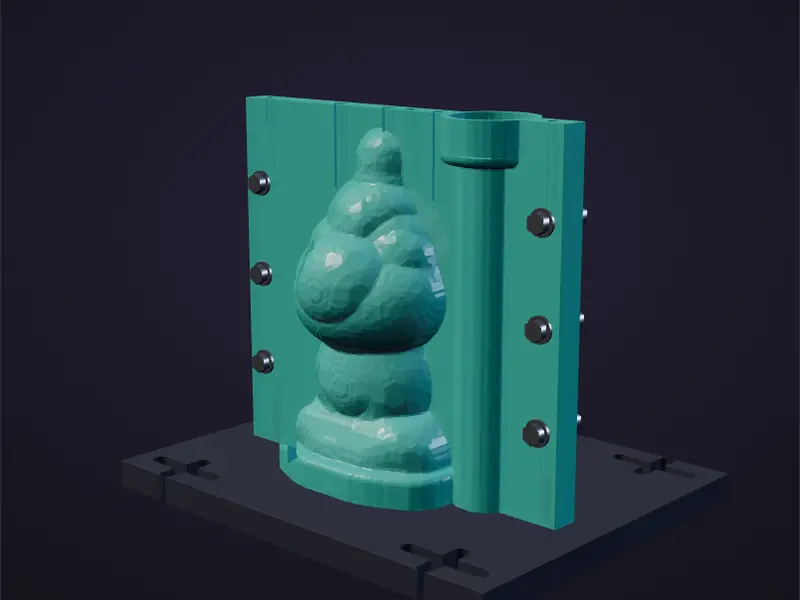
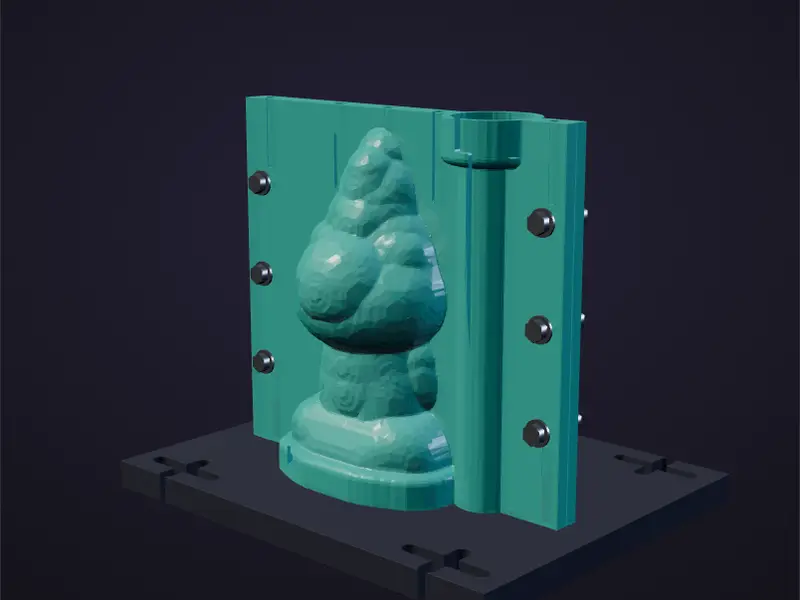
- 24 h at 20–24 °C. Do not move it, do not poke it.
- Below 18 °C the reaction nearly stops: warm with a mat, not above 40 °C (PLA master).
Done when: the leftover in the cup is springy and not tacky
-
Step 9 of 17
Open and trim
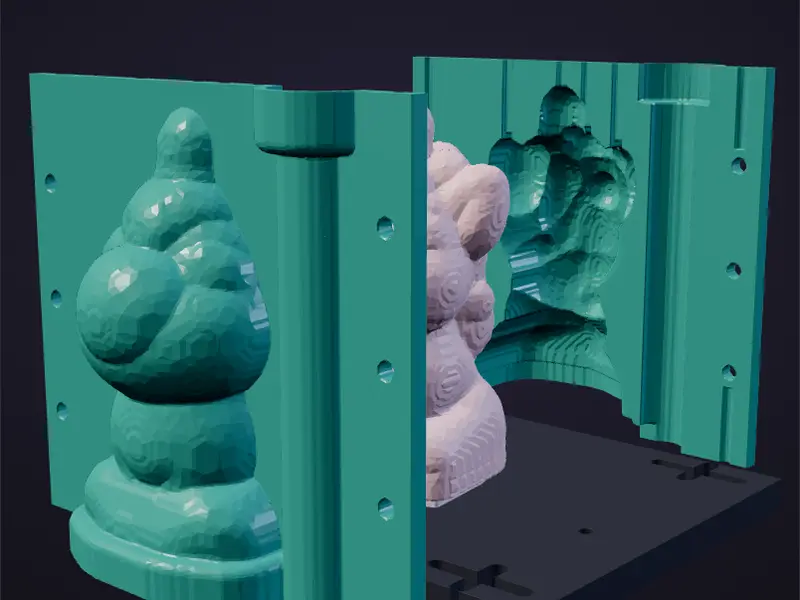
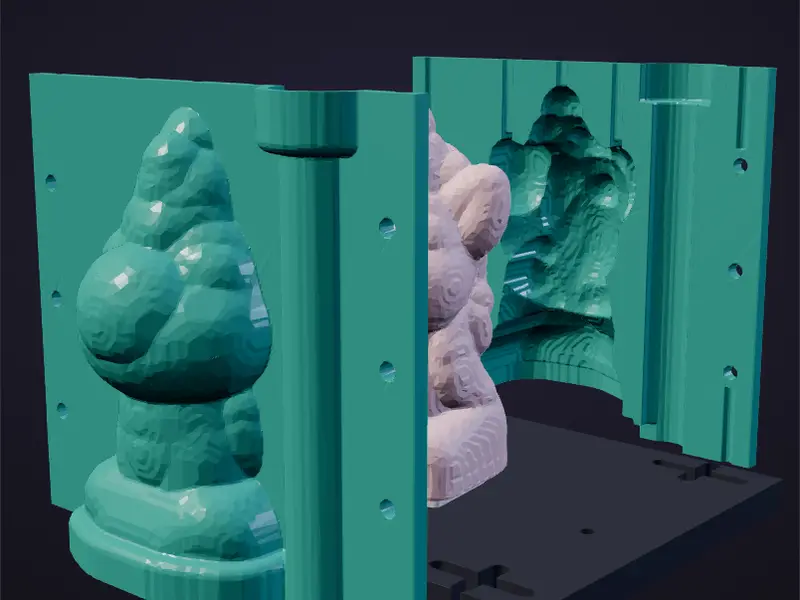
- Unscrew the plate, remove the bolts, open the shell.
- Cut the riser, gate and vents flush.
- While the glove is on the master, trim excess to 6–8 mm with a knife: around the ears, horn, forelock and at the base.
- Clean the edges: a nick grows under stretch.
Done when: 6–8 mm everywhere, clean edges
-
Step 10 of 17
Roll the glove off the master — this is the test


- From the ring to the horn, like a sock, no jerks.
- Came off easily — pour candles without a cut.
- Won't come off or turns white at the ring — right away, on the master, a wavy cut along the mane from ring to nape, never through the face.
Done when: the glove is intact, no pores over 0.3 mm on the face
-
Step 11 of 17
Post-cure the glove
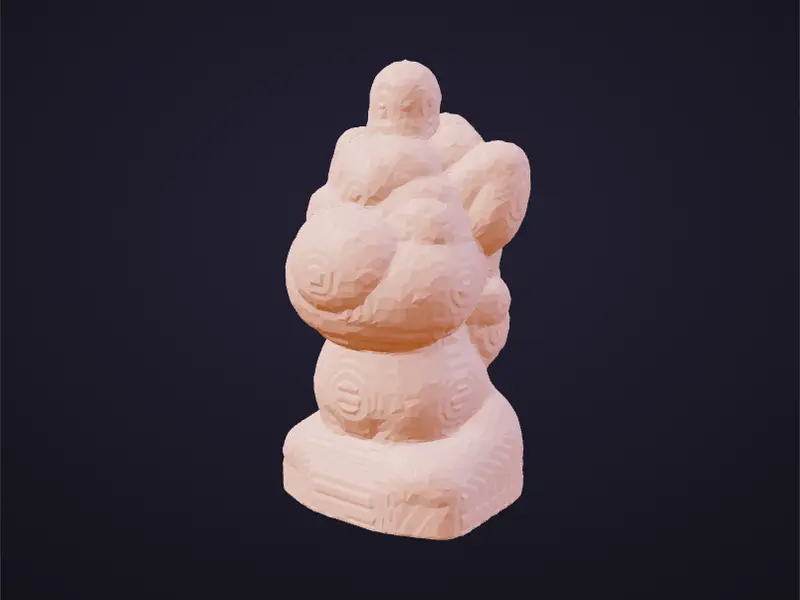
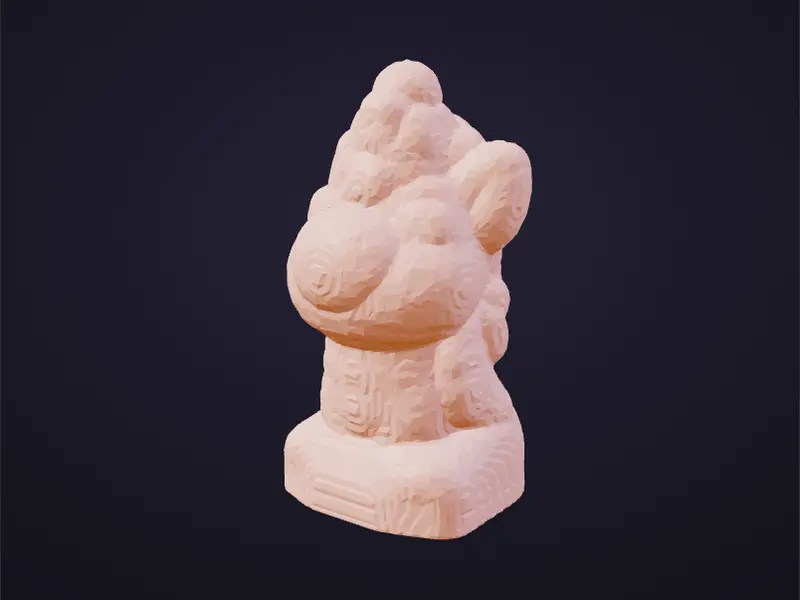
- Tin silicone: the glove alone, without master or shell, 4 h at 65 °C in the oven, check with a thermometer.
- This drives off alcohol and moisture that otherwise pit the first candles.
- No plastic parts in the oven.
Done when: the glove has cooled, is dry and odourless
-
Step 12 of 17
Wick through the horn tip
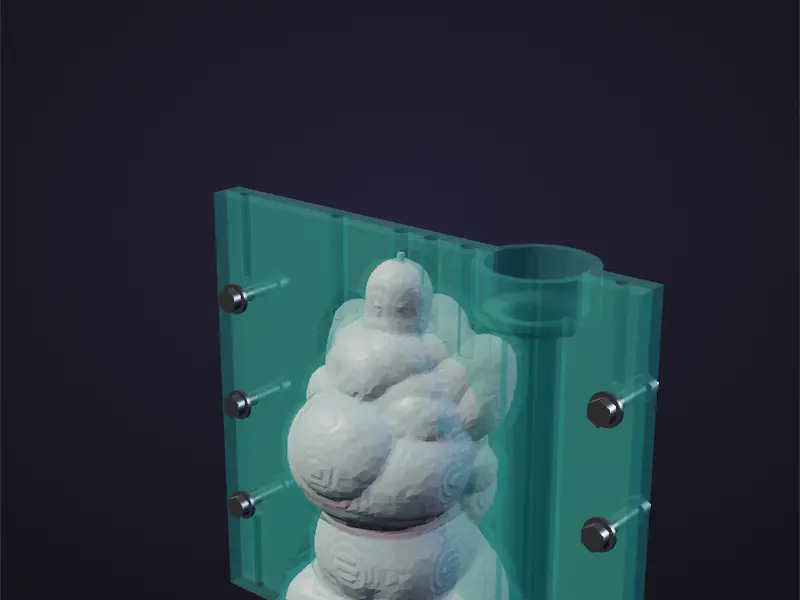
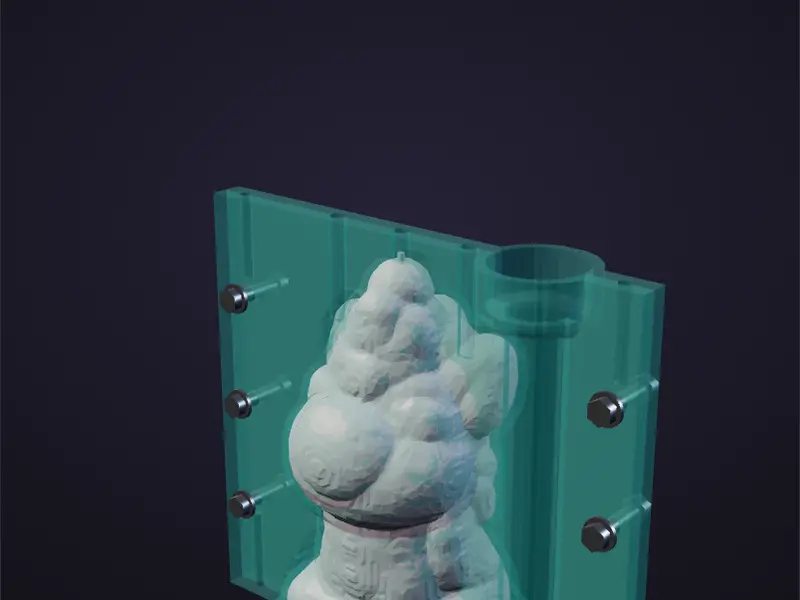
- Turn the glove inside out, horn tip outwards.
- With a waxed wick in the needle, pierce from inside out exactly at the centre of the tip.
- Turn it back: the wick runs through the cavity to the window. A blob of clay on the puncture outside.
- Glove into the shell, tighten the bolts.
Done when: wick on the horn axis, puncture sealed
-
Step 13 of 17
Warm up and flip
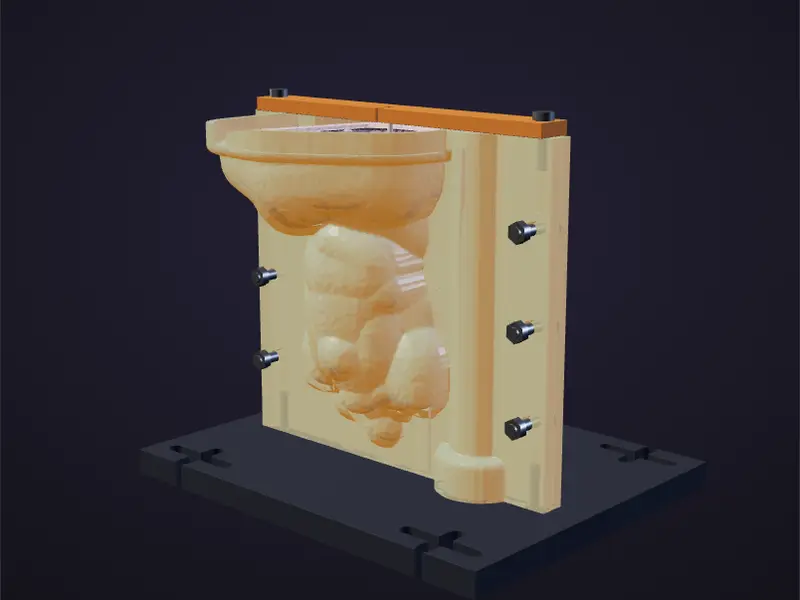
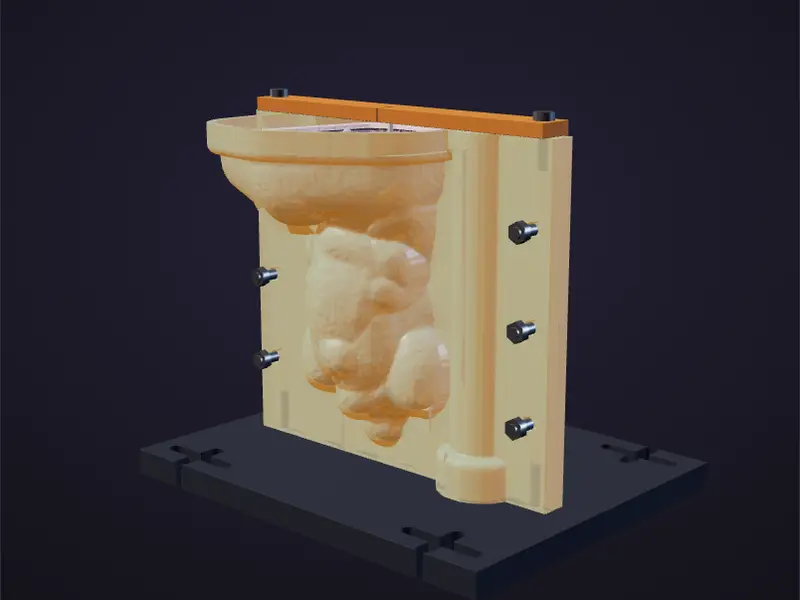
- Warm the shell with the glove 30–45 min at 45–50 °C, not above 50 °C (PETG). Glove dry.
- Flip about the long axis: the riser stays on the same side. Horn down, two screws to the plate.
- Knot the wick tail into the Ø10 hole. Bar on top, wick in the slot, pull taut.
Done when: assembly warm, wick taut in the centre of the window
-
Step 14 of 17
Pour the wax
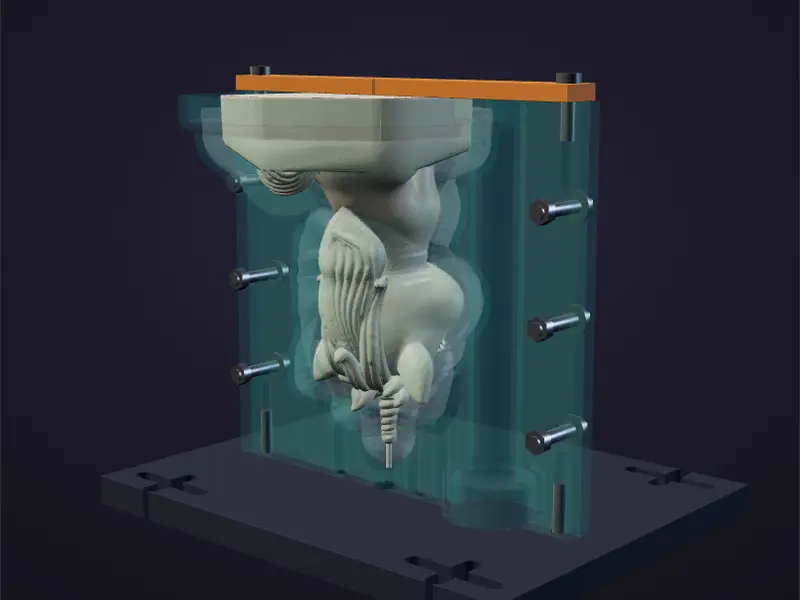
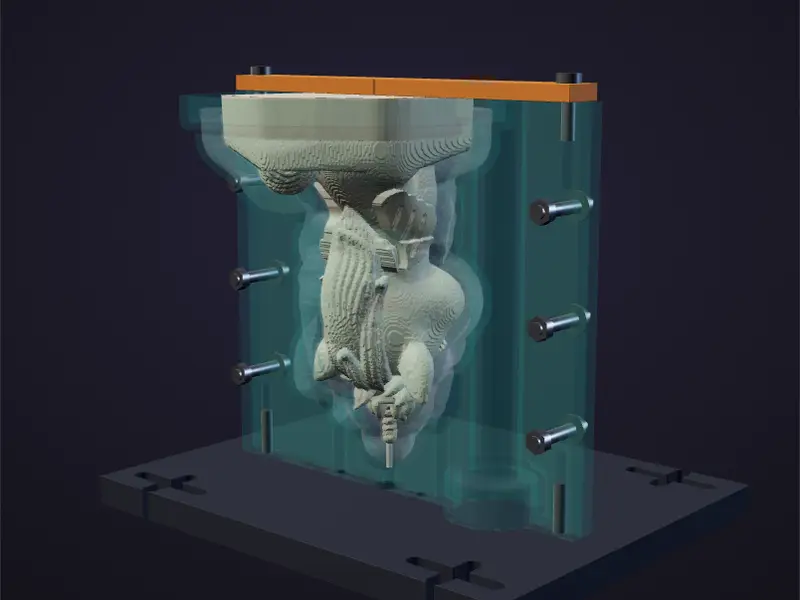
- Paraffin at 77–82 °C, melt ≈133 g. Below 77 °C you get rings and patchy gloss.
- First 5–10 g in a thin stream down the wick so wax reaches the horn tip. Start vibration.
- Then pour down the wall, vibrate 60–90 s. Stop 2 mm short of the glove rim.
- Switch the table off before any hand movement near the melt.
With crown and wings Air stays under the feathers (4 places): tilt the shell 15–20° right and left in turn while vibrating.
Done when: wax 2 mm below the rim, no bubbles on top
-
Step 15 of 17
Cool and top up
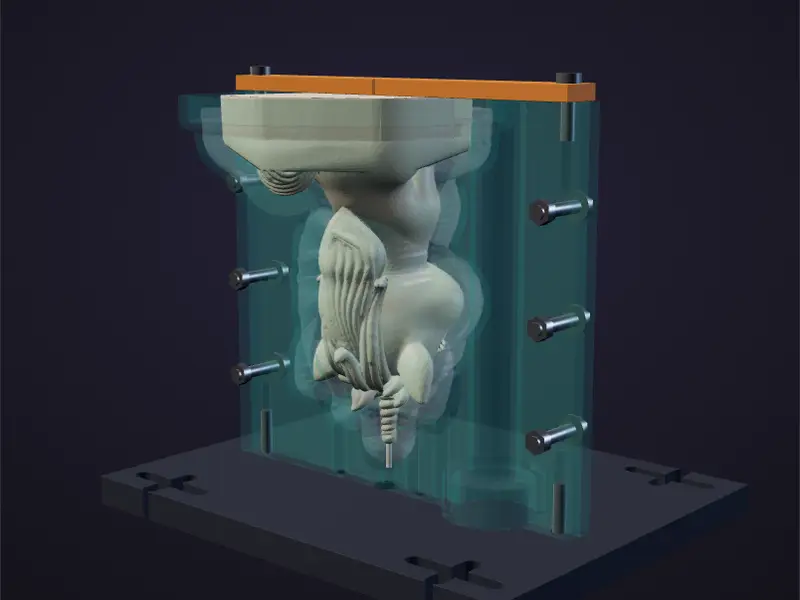
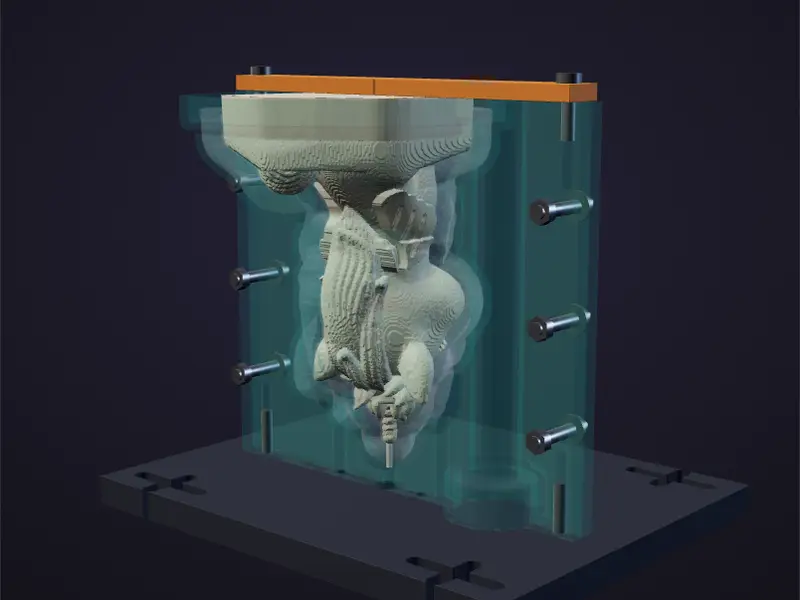
- Insulate the shell neck; a gentle fan only on the head (bottom of the assembly); cover the top with a towel.
- After 30–40 min pierce the crust along the wick to the neck and top up with wax at 88 °C.
- No fridge.
Done when: no new sink after the top-up
-
Step 16 of 17
Demold the candle
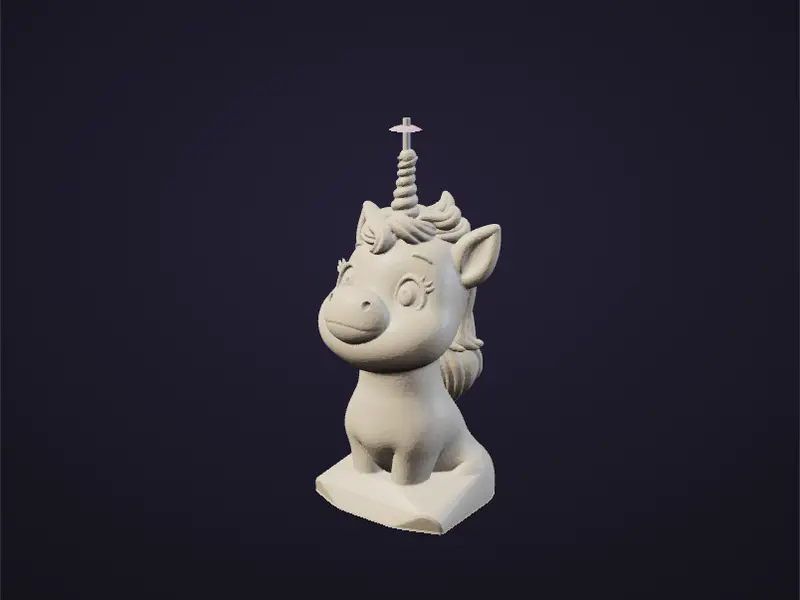
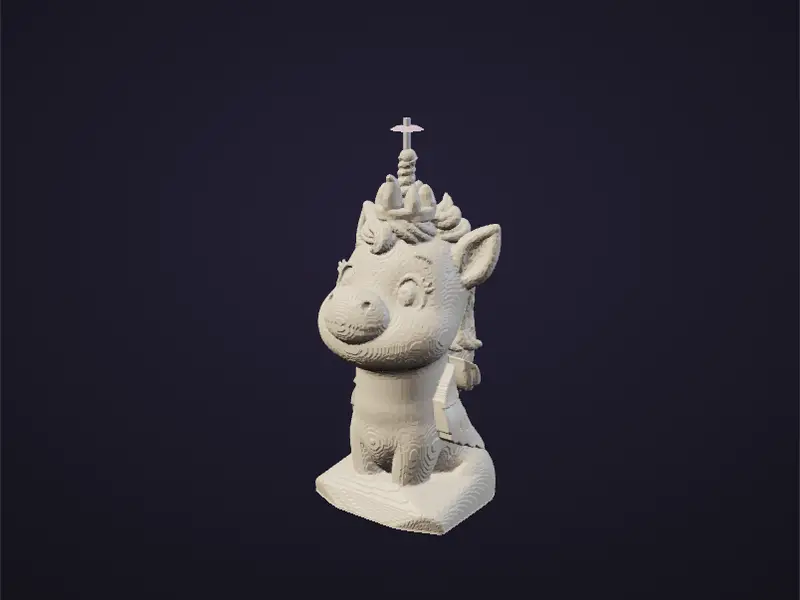
- First three candles — after 12–24 h, cooled through.
- Cut the wick tail flush with the glove, remove the clay.
- Open the shell, roll the glove from the ring to the horn slowly: the ears come out last.
Done when: ears and horn intact; note the time, wax and shell temperature
-
Step 17 of 17
Finish and burn test
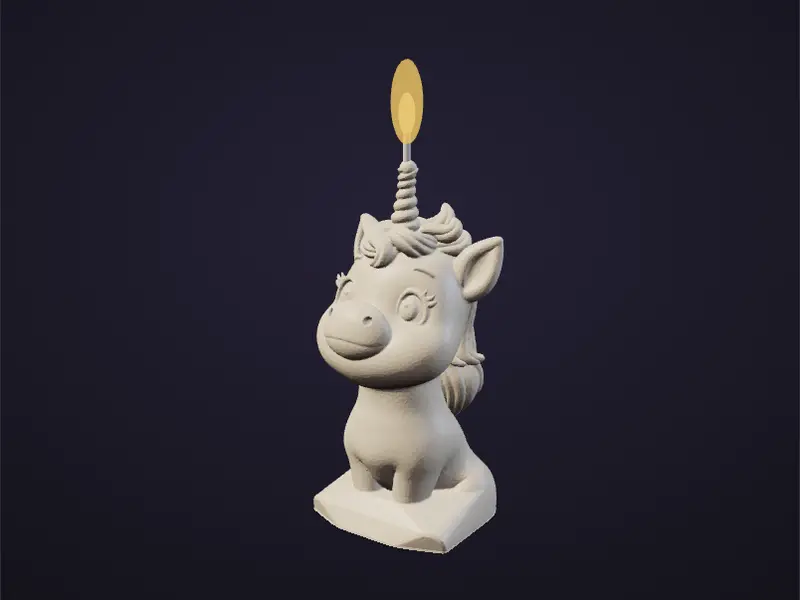
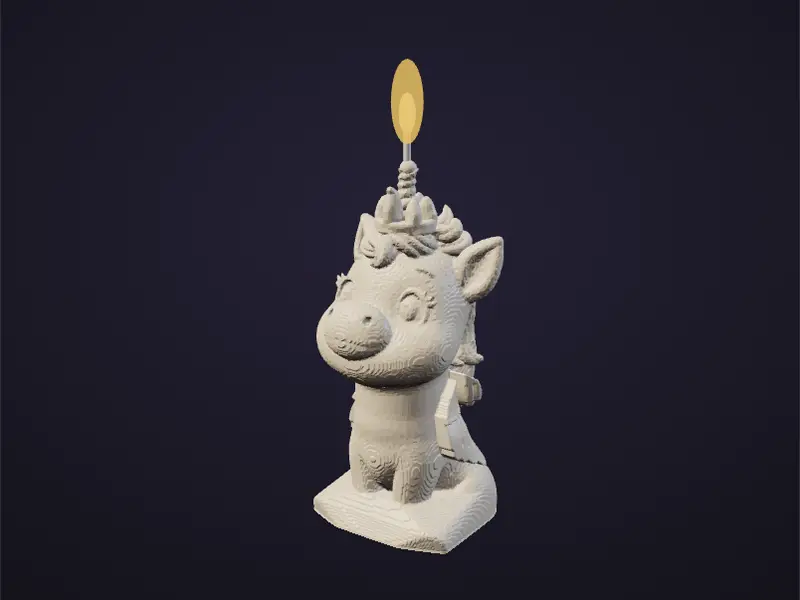
- Cut off the riser, level the base on a warm pan.
- Trim the wick to 6–8 mm.
- Second candle — one hour on a non-flammable stand with a saucer.
With crown and wings The horn and crown burn first: the points run within the first 15–20 min.
Done when: no soot, flame up to 3 cm (ASTM F2417 limit 76 mm), the head does not topple
What you need besides the printed parts
Fasteners for one mold. The molds are poured one after another, so one set covers both. Pouring both at once — double it.
| What | How many | What for |
|---|---|---|
| M4×20 bolt + 2 washers + nylon-insert nut | 6 | Clamp the shell halves through the flanges, 3 on each side |
| M4×25 screw | 2 | Shell to plate: from below through the plate into the shell end |
| M4×20 screw | 3 | Master to plate from below, self-tapping into plastic |
| Wide washer Ø12+ for M4 | 1 | Under the screw on the wick axis, covers the Ø10 hole |
| M4×16 screw | 2 | Wick bar to the shell end for the wax pour |
| M5 bolt + wide washers + nylon-insert nuts | 4 | Plate to the vibration table; length = table thickness + 20 mm. Or 2–4 clamps |
| Sulfur-free modelling clay | 50 g | Bead under the master edge, shell-to-plate joint, wick puncture |
| Masking tape | 1 roll | Seal the Ø10 hole from below |
| Petroleum jelly, brushes, cups, sticks | Jelly thinly inside the shell, never on the master | |
| 0.1 g scale, 5 ml syringe | Catalyst 2 % by weight — 4 g per 200 g | |
| Probe thermometer, wax thermometer | Shell 45–50 °C, wax 77–82 °C | |
| Braided wick, 15 ply; eyed needle | Wick through the horn-tip puncture | |
| Paraffin | ≈135 g per candle | Plus microcrystalline wax for trials |
Is 0.5 kg of silicone enough for two molds
| Pour for one glove | 196 g | 12 % reserve and riser included |
| First brushed coat | 10 g | per mold |
| Test on the master coating | 10 g | once |
| Total for two molds | 422 g | of 500 g |
| Left over | 78 g | ≈16 % |
Yes, enough for two, but not for re-pouring one. So pour one mold first and make sure the silicone cures and releases. If it is 500 ml rather than 500 g (≈550 g), the reserve is larger.
If the seller's pot life is under 25 min, mix at 20–22 °C and pour immediately.
Where the numbers come from
- The 3D parts are the same STL files you printed, reduced for the browser. The glove is shown schematically as a 6 mm layer.
- Silicone and wax mass, vents and fastener holes come from the 3d-ai-fusion engine check of each mold.
- Temperatures and modes follow IGI, Smooth-On and CandleScience data sheets.
Not yet proven by a cast
- No glove has been cast yet: the “Roll” step shows whether it comes off without a cut.
- Demolding time is an estimate, refined by the records of the first casts.
- The silicone vibration is modelled for Sasha's table; the table drawing is not in yet.